


There’s something innately satisfying about grilling with charcoal, the smell of burning coals, the sizzle of the meat, and the smoky flavor that infuses every bite. However, for the uninitiated, lighting a charcoal grill can seem like a daunting task.
Fear not, this comprehensive guide will show you how to light a charcoal grill, offering expert tips and insights that only years of grilling experience can provide.
Table of Contents
Setting the Stage: Preparing Your Charcoal Grill
Before you get to grilling, it’s important to set the stage correctly. Here’s how:
- Ensure your grill is clean: A clean grill ensures that your food tastes its best, free from the remnants of past barbecues. Use a grill brush to scrub away any old grease or stuck-on food. Remember, regular deep cleaning of your grill is a must, at least once a season.
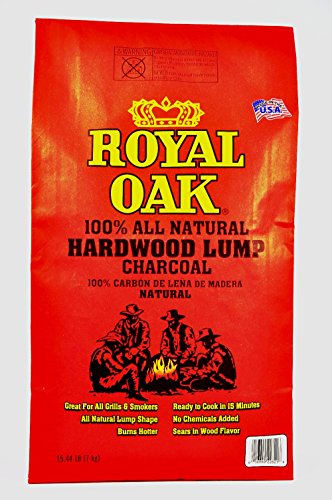
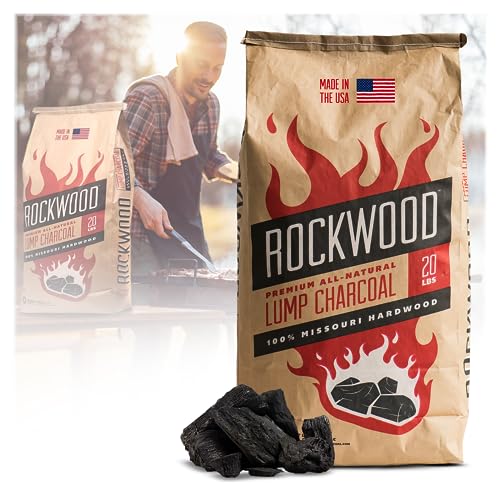
- Select the right charcoal: There are two main types of charcoal – lump, and briquettes. Lump charcoal, made from hardwoods like cherry or oak, is perfect for slow-smoking barbecue due to its high heat and fast burn time. Briquettes, on the other hand, are ideal for direct heat and shorter cooking times due to their uniform shape and high burn temperature. The type of charcoal you use can significantly influence the taste and success of your grilling, so choose wisely.
- Organize the charcoal properly: A well-organized charcoal setup can greatly improve the efficiency of your grilling. If you’re using a chimney starter, the arrangement will differ from the setup for lighter fluid.
Lighting the Grill: Different Methods
There’s more than one way to light a charcoal grill, and knowing these methods can enhance your grilling experience.
Method 1: Using Lighter Fluid
Lighter fluid is a common choice for beginners due to its ease of use. However, it’s essential not to douse the briquettes excessively to avoid a lighter fluid taste in your food. Once the briquettes are white, spread them out evenly across the grate for direct cooking, or create two piles on either side with a space in the middle for indirect cooking.
Method 2: Using a Chimney Charcoal Starter
Chimney starters are a more natural alternative to lighter fluid. The process involves using newspaper as an ignition source under a metal cylinder filled with charcoal. Once the briquettes turn white (usually after about 20 minutes), they can be spread out just like in the lighter fluid method.
Method 3: Using an Electric Starter
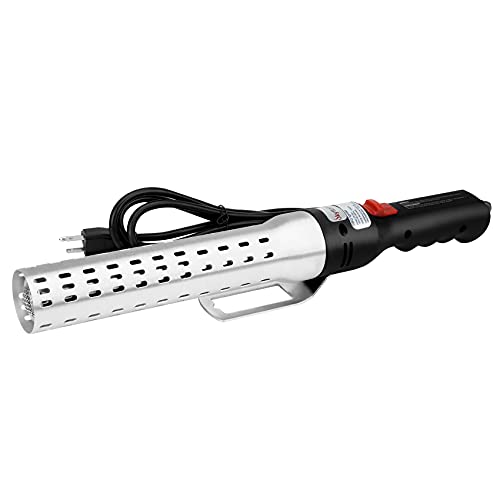
Electric starters are great for those who want a surefire way to light their grill without any potential flavor interference. The process involves creating a pile of charcoal briquettes, placing the electric starter on top, and then adding more briquettes. Once the briquettes turn white, remove the starter and spread the briquettes as per your cooking preference.Lighter Fluid
Avoiding Common Mistakes
One crucial part of mastering charcoal grilling is understanding the common mistakes and learning to avoid them. For instance, using briquettes with fillers and binders can affect the taste of your food, so opt for pure hardwood charcoal when possible.
Overusing lighter fluid can also impart an unpleasant taste, so it’s better to rely on a chimney starter with a newspaper. Also, consider the amount of time you’ll be grilling and the desired heat level as these factors will determine how much charcoal you need.
Finally, when pouring the hot coals, always use an oven mitt or a dry kitchen towel to protect your hand from the heat. If you’re using a two-zone fire, remember to add the coals to one side before they get too hot to handle. This will make it easier to manage the heat and ensure even cooking.
Key Takeaways for Lighting a Charcoal Grill
Now that you have a better understanding of how to light a charcoal grill, keep these essential points in mind for a successful grilling experience:
- Clean your grill: A clean grill ensures the best taste and prevents unwanted flare-ups.
- Choose the right charcoal: Lump charcoal is ideal for slow-smoking barbecue, while briquettes are perfect for direct heat and shorter cooking times.
- Organize the charcoal: Arrange your charcoal pieces properly depending on your chosen method.
- Master different lighting methods: Familiarize yourself with lighting techniques like using lighter fluid, a chimney starter, or an electric starter.
- Avoid common mistakes: Use pure hardwood charcoal, minimize lighter fluid use, and properly manage your grill’s heat zones.
By following these guidelines, you’ll not only become proficient in lighting a charcoal grill, but you’ll also develop the expertise, authoritativeness, and trustworthiness that comes with years of grilling experience. So, go ahead, fire up that grill, and enjoy some delicious, perfectly cooked barbecue with friends and family. Happy grilling!
Last update on 2024-04-05 / Affiliate links / Images from Amazon Product Advertising API
This post contains affiliate links, which means I may receive a small commission, at no extra cost to you, if you make a purchase using these links.
