

If you want to be good at stargazing or take your astronomy game to the next level, then having a good grasp on telescope filters is a must. Without having basic knowledge about the telescope filters, you’ll never be able to ascend to the next stage of stargazing. Therefore, I am writing this telescope filters guide to give you basic knowledge of filters.
In this telescope filters guide, I’ll talk about what they are, how they work, the types of filters, why they are necessary, and so on.
I am sure if you want to embark on the mysterious journey of outer space, this article will be very handy for you.
So, without further ado, let’s get started!
Table of Contents
What Are Telescope Filters?
Let’s start with the basics. What do filters do? They block something. Think about water filters. They block all the harmful elements from the supply water and pass only the safe drinking water.
Similar to water filters, telescope filters also block something. However, instead of harmful elements, telescope filters block unwanted light or wavelengths of light from reaching our eyes through the telescope.
By doing so, telescope filters help to enhance the quality of the image and increase the contrast. For example, in most cases, nature doesn’t favor us whenever we want to see something in the night sky. So, we often fail to get a good quality image of the object we are trying to capture. In such cases, by using a telescope filter, we can successfully increase the quality of the image so that we can enjoy a better view of the target object.
While amateur astronomers use filters to get a crisper image at the telescope, professionals use these for more complicated tasks, such as classifying stars.
Let me give you a practical example. Most of us have experienced light pollution while stargazing. The most common source of light pollution is sodium light from the street lamps.
Using a certain telescope filter, we can block the sodium light from street lamps from reaching our eyes. Thus, by using this simple instrument, our stargazing experience will get a hundred times better.
Wratten Number
Wratten number system is used to describe each telescope filter. The system is named after its inventor, Wratten. Wratten assigned each color to a specific number, such as 81 for pale orange, 80 for blue, etc. The number is followed by a specific letter indicating the filter’s strength.
How do Telescope Filters work?
As I mentioned earlier, telescope filters block certain wavelengths or portions of light from reaching our eyes through the telescope. Telescope filters work in 2 ways: they control the type of light our eyes can receive and the amount of light that passes to our eyes through the telescope.
There are different filters made for different purposes.
One filter can take off the glare from the Moon and allow us to see the surface of the moon with great detail. Another filter can be designed to pass only a specific range of lights and block the others, thus offering a more contrasted image for a better stargazing experience.
Every object in our universe has unique constructional properties. So, we need different types of filters for successfully observing each object.
In this telescope filters guide, I’ll talk about different types of filters and their uses.
How To Use Telescope Filters?
Telescope filters are extremely easy to use. Filters these days come threaded. So, you can easily attach one at the bottom of your eyepiece and enjoy the benefits of the filter.
Just take your eyepiece and attach the filter at the bottom end of the eyepiece. Now, attach the other end of the eyepiece to the telescope. That’s it! Your filter is now ready to enhance your stargazing experience.
Different Types Of Telescope Filters
Solar Filter
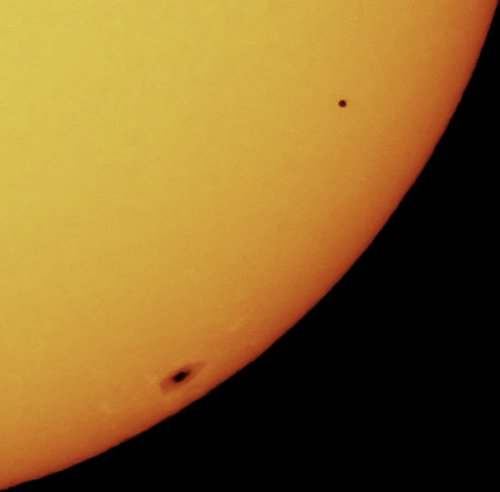
In my ‘can telescope damage your eyes’ article, I have warned you several times not to look directly at the sun through a telescope. It will harm your eyes.
However, there is a way you can look at the sun through your telescope without damaging your eyes permanently. The solution is- to use a solar filter with your telescope.
Solar filters are attached in front of the primary lens/mirror, thus protecting the main entrance of the telescope. Solar filters must be matched to the aperture of the telescope to be effective. A good solar filter will block about 99.9% of the sun’s light before it can reach our eyes.
Chromatic Aberration Filters

All of us who have worked with optics, namely cameras and telescopes, know a little about chromatic aberration. Chromatic aberration is simply a lens flaw that results in visual glare.
Most of us know that lenses split light into different wavelengths. In most cases, lights of different wavelengths don’t get focused at the same point after passing through the lens. This causes a slight rainbow effect in the image. This is known as Chromatic Aberration.
Chromatic Aberration filters can reduce this effect on images.
Light Pollution Reduction Filters
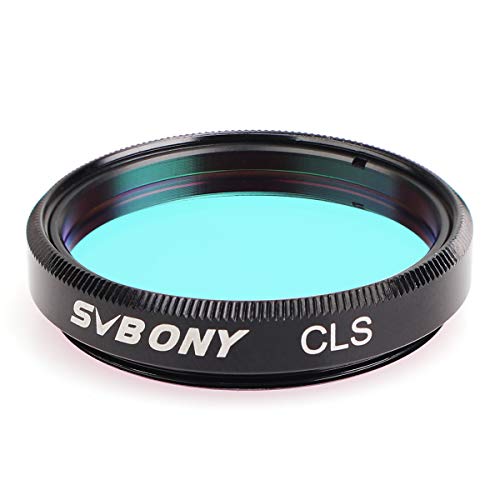
Most of us who live in cities suffer from light pollution. Light pollution significantly reduces the quality of images and harms the seeing conditions. The most common source of light pollution in cities is the street lamps and lights from the neighbors.
Light Pollution Filters (LPR) reduce the effect of light pollution and improve seeing conditions significantly. It does so by blocking sodium, mercury vapor, and other emissions of wavelengths from various artificial objects such as street lamps. By doing so, the LPR filter improves the image’s contrast and increases the visibility for observing deep sky objects.
- LPR filters improve the contrast of the target object
- Makes the target object brighter and easier to see
- Provides a nice contrast when observing deep sky objects
Narrowband Filters (aka Nebula Filters)
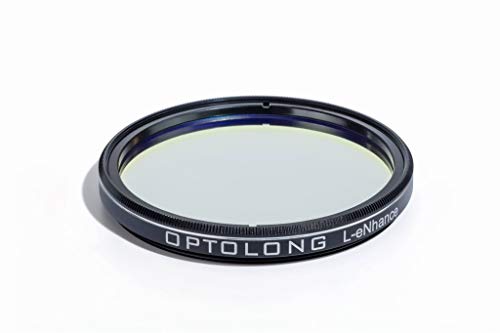
Narrowband filters only pass a narrow portion of the visible light spectrum. The portion includes emission lines of oxygen III, Hydrogen Beta, and the portion of wavelength between the Oxygen III and Hydrogen Beta lines.
Narrowband filters are mainly used for observing deep sky objects. They are particularly used for looking at planetary or emission nebulas. Narrowband filters increase the image quality by limiting the sky glow in the background, thus increasing the darkening of the background sky. As a result, the nebula gets more prominent and clearer to observe.
When using narrowband filters, a new world of nebulae and other deep sky objects will open up to you. Deep sky objects that are invisible or too faint for the telescope to detect will now be visible with details and contrast. With a low to medium magnification telescope, you can observe these hidden treasures of the deep sky.
Some prominent nebulae to observe with a narrowband filter are the Orion nebula, Swan nebula, and Lagoon Nebula.
Line Filters
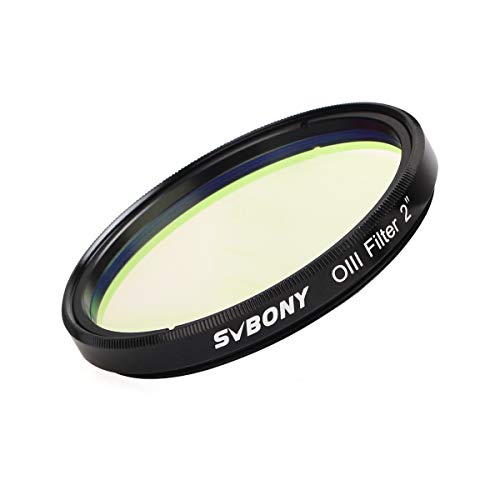
Line filters pass even a narrower spectrum band than narrowband filters. As I mentioned, narrowband filters pass Oxygen III emission lines, H beta emission lines, and the wavelength portion between the two.
On the other hand, line filters only pass H beta emission lines of Oxygen III emission lines.

Oxygen III filters are mainly used for observing nebulas, especially planetary and diffuse emission nebulas. The main thing Oxygen III filters do is significantly improve the image’s contrast. The best objects to see with an Oxygen III filter are M33, M8, Veil, and the Helix nebula.
H-beta filters are mainly used to inspect the structural properties of nebulas. They are not ideal for observing planetary or other types of nebulas. H-beta filters are mainly used with larger aperture telescopes for observing dim objects in the night sky.
You can observe the M43, M42, Cocoon, California, and Horsehead nebula with the H-beta filter.
Polarizing Filters
Polarizing filters are mostly used for observing the Moon. Most amateur astronomers want to start their stargazing journey with Moon. But the problem they often face is the brightness of the Moon.
As the Moon is very bright compared to other objects in the night sky, the glare of the Moon makes it very hard to see the surface details. Well, there is a solution to it- Polarizing filters.
Polarizing filters come with 2 polarized surfaces. By varying the angle, the incoming light gets reduced up to 60% to 99%.

The one thing polarizing filters do that no other filters do is allow all wavelengths of light in an equal distribution. This way, though the contrast is not changed, the dimmer light offers a much more detailed view.
You can also get the same function from a neutral density filter. However, neutral density filters are not adjustable like polarizing filters.
Color Filters

As the name suggests, color filters pass lights corresponding to specific colors of the spectrum. However, these filters pass only a specific range of light wavelengths and block the rest. Therefore, color filters are mainly used when observing different objects in our solar system, especially planets and the Moon.
Color filters improve the contrast, thus allowing us to see more surface details of the planets and moons.
Remember the Wratten system I have talked about before? This Wratten system is mainly used to categorize these color filters.
The 4 most basic color filters any astronomer should have are Green, Blue, Yellow, and Red.
If you have just started stargazing and looking for a cost-effective way to get some of the most important telescope filters, then I’ll highly recommend the Neewer telescope filter set. This filter set comes with 5 color filters, a CPL filter, and a Moon filter. Also, there is free shipping offered on this product from Amazon. Check out the current price here on Amazon.

Here is a list of some of the most used color filters and their short description:
#11 Yellow Green
- Used to observe Mars.
- Improves the contrast of Maria on Mars
- Makes the surface details of Jupiter more prominent
- It Can be used for observing Saturn, its clouds, Cassini division, as well as the red/blue contrast of the planet.
#8 Light Yellow
- Mainly used to observe the Moon.
- Like #11, it also offers a clearer image of the Mar Maria
- The red-orange contrast of Jupiter’s belt gets more prominent
- Makes the discs of Neptune and Uranus clearer and easier to observe
- Mainly used with telescopes with a larger aperture
#15A Dark Yellow
- Used for observing the polar caps of Mars. Also brings out the surface details of Mars.
- The polar regions of Saturn and Jupiter get clearer
- The orange/red contrast of Saturn and Jupiter gets improved
- Improves the cloud details of Venus
#12 Yellow
- Mainly used as a lunar filter
- Reveals blue clouds of Mars. Also improves the red/orange features of the planet
- The Red/orange contrast of Jupiter and Saturn gets more prominent
#21 Orange
- Blocks most of the green and blue wavelengths of the visible spectrum
- Improves the contrast between red/orange/yellow and green/blue features
- Mostly used for observing Mars
- Great for seeing the Great Red Spot and Belts of Jupiter
#23A Light Red
- Overall provides good performance when viewing planets
- Good for observing Maria of Mars
- Improves both Jupiter’s and Saturn’s polar regions as well as belts
#25 Red

- Good for observing a few planets
- Good for observing the terminator of Venus
- Improves some features of Mars
- Enhances the Maria of Mars
- Increase the contrast of Jupiter
#38A Dark Blue
- Good for observing the dust storm and surface of Mars
- Enhances the contrast of Jupiter’s Great Red Spot, belts, and the overall surface details
- Allows a clearer view of Saturn’s rings
#47 Violet
- Blocks yellow, green, and red portions of the light spectrum.
- Overall good for viewing planets
- Great for observing our Moon, Jupiter, and Venus
- Enhances the polar ice caps of Mars
#56 Light Green
- Allows a clearer picture of the Martian dust storm and polar ice caps
- Enhances the contrast between Jupiter’s belts and the overall atmosphere
#58 Green

- Prevents red and blue wavelengths from passing
- Allows a clearer image of the Martian polar ice caps
- Enhances the cloud belts and polar regions of Saturn
#80A Blue
- Overall satisfactory performance for observing planets
- Good for observing the Moon
- Great for Jupiter’s belts, the Great Red Spot, and Saturn’s polar regions, as well as the belts
#82A Light Blue
- Great for observing Moon, Jupiter, Saturn, and the Mars
- It can be used to see the brighter galaxies from Earth
- Overall good for viewing planets
ND96 Neutral Density

- Helps to transmit lights of all colors uniformly
- Reduces glare off the surface
- Great for splitting double stars and making them clearer
- It can be used to observe the Moon
If you wish to learn more about color filters, go through this pdf. It contains a lot more info which may come in handy to you.
Final Words
I hope this very long guide has helped you to get the basic idea of Telescope filters. Telescope filters make our life easier and simpler. Thanks to these tiny optics, we can understand our Universe far better.
Now that you know what telescope filters are get some of the most common ones (such as the color filters) and give them a try! You’ll be amazed to see the differences between No-Telescope and With-Telescope images!
Last update on 2024-04-05 / Affiliate links / Images from Amazon Product Advertising API
This post contains affiliate links, which means I may receive a small commission, at no extra cost to you, if you make a purchase using these links.